
KSign iOS lets you install IPA files on your iPhone or iPad in just a few steps. As you may know, iOS doesn't allow you to install IPA files directly like you would on Android. You first need to sign the app using a valid certificate before it can be installed on your device.
Installing KSign itself can be a little complicated if you don't follow the steps carefully. However, on this page, we'll walk you through the process so you can get it installed on your iPhone without much trouble.
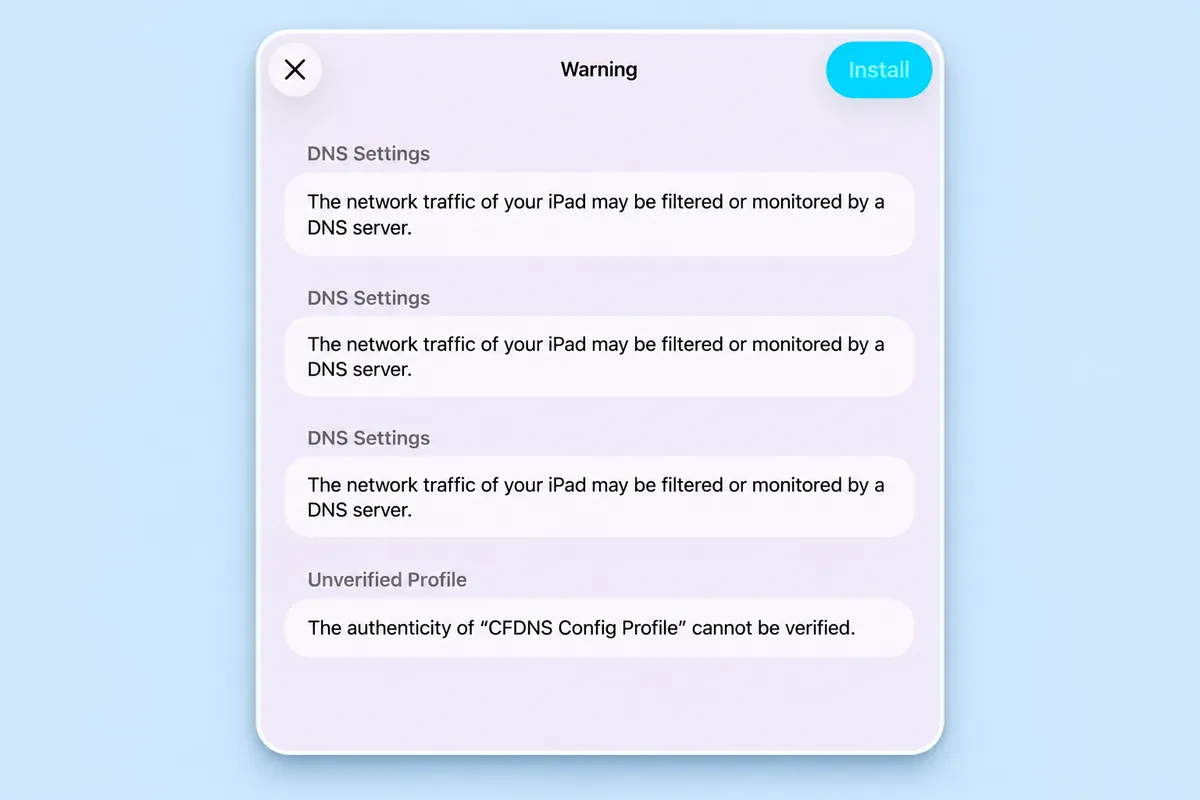
For the DNS-based method shown here, the first thing you need to do is configure the Anti-Revoke DNS profile on your device. It routes selected Apple certificate-verification domains through a third-party DNS service and may interfere with those checks. It does not stop Apple from revoking a certificate or guarantee that a certificate will continue working.
How to Install KSign on iPhone or iPad
To install KSign using the DNS-based method, you'll first need to configure the Anti-Revoke DNS profile. After that, you can install the app and trust its signing certificate.
Step 1: Install the Anti-Revoke DNS Profile
Download the KSign Anti-Revoke DNS profile using the button above.
Once downloaded, open Settings > General > VPN & Device Management. Under Downloaded Profiles, select the DNS profile and tap Install.
Enter your iPhone passcode and confirm the installation.
Step 2: Install KSign on Your iPhone
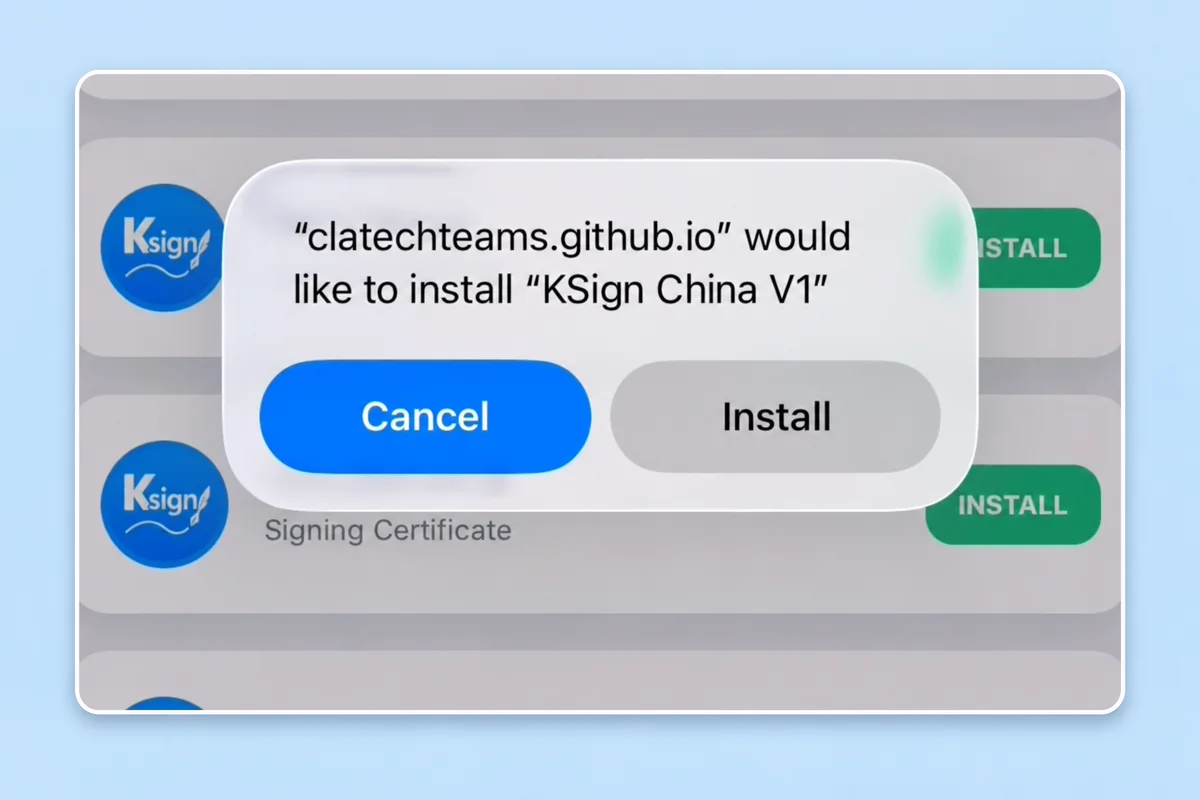
Now go back to the download section and tap Install next to one of the available KSign options.
If the certificate is working and your device accepts the installation, KSign should appear on your Home Screen.
Step 3: Trust the KSign Certificate
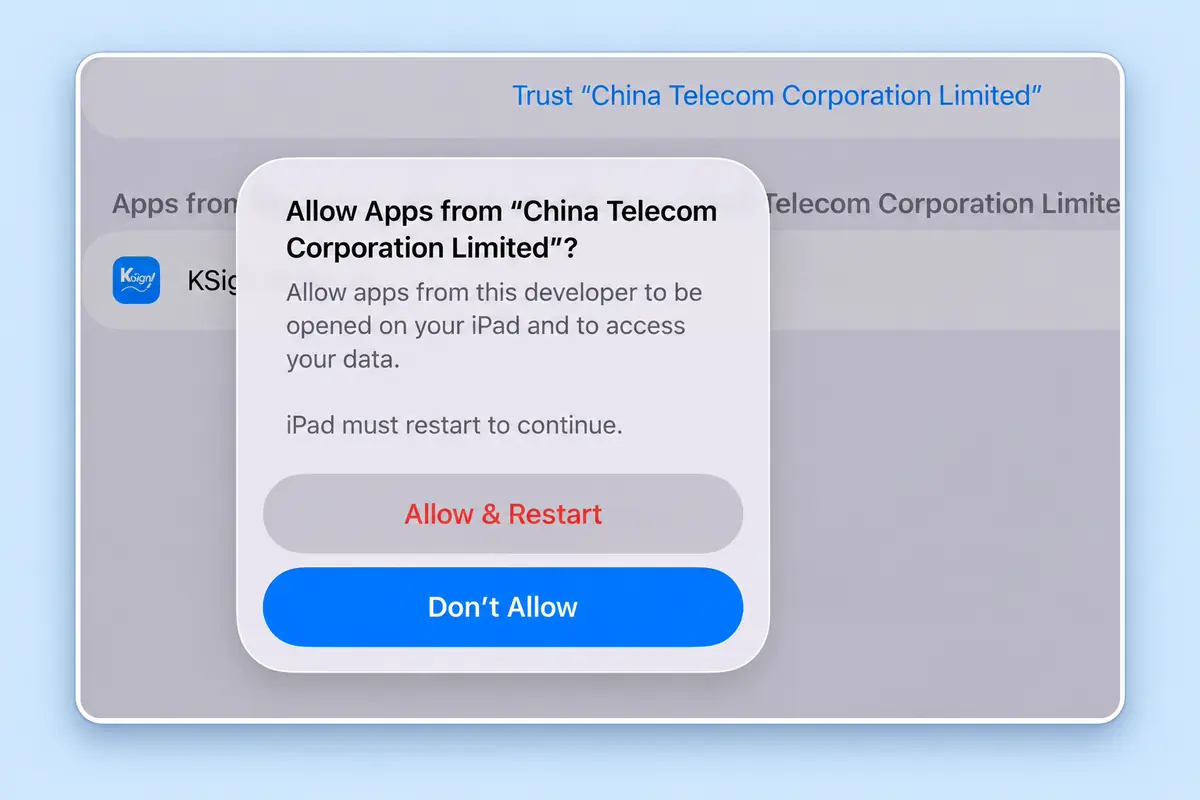
When you open KSign for the first time, your iPhone may display an Untrusted Enterprise Developer message.
To resolve this, open Settings > General > VPN & Device Management and find the certificate provider under Enterprise App.
Tap the developer's name, select Trust, and confirm. Depending on your iOS version, you may need to select Allow & Restart and complete additional verification.
Once verification is complete, open KSign from your Home Screen. If it launches successfully, you can move on to signing IPA files.
How to Sideload IPA Files Using KSign iOS
Once you've installed KSign, you can sign and install IPA files directly on your iPhone or iPad. You'll need an IPA file and a compatible signing certificate. Follow these four steps to get started.

Import Your Signing Certificate
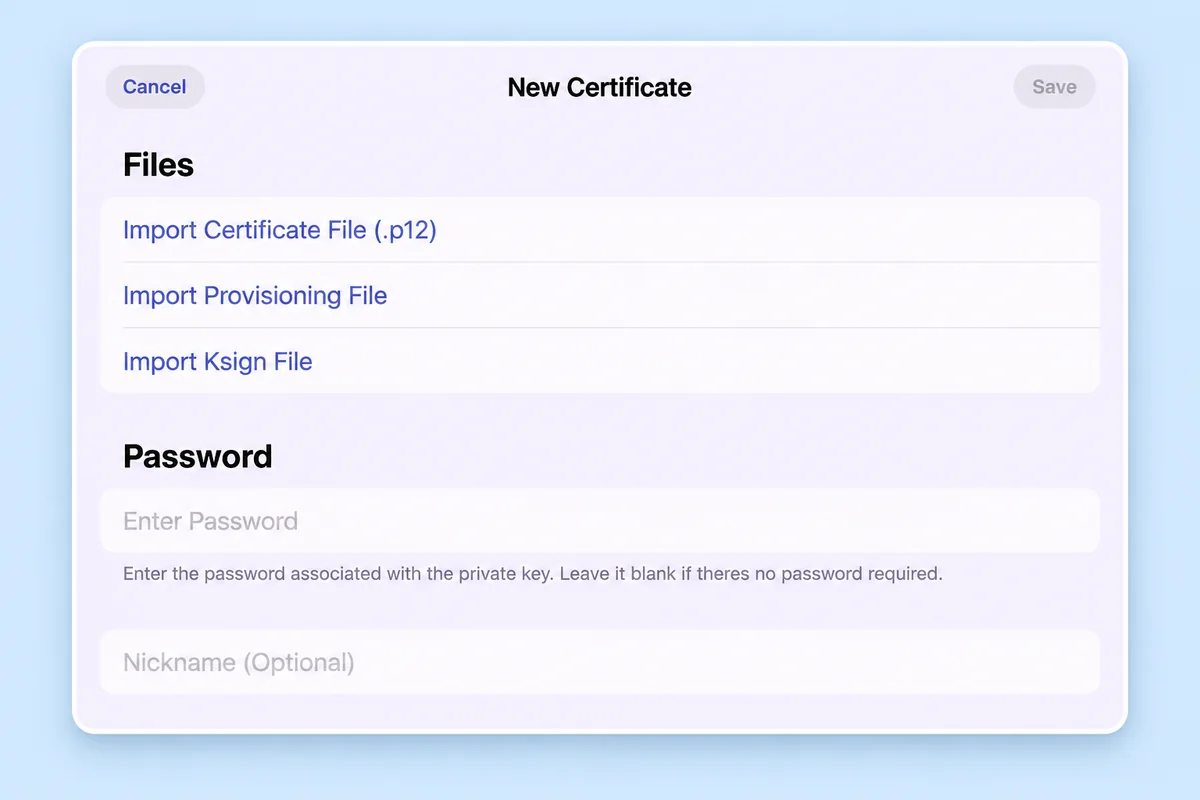
Before you begin, make sure you have your .p12 certificate, its password, and the matching .mobileprovision file.
Open KSign > Settings > Certificates and tap the + button. Import both files, enter your certificate password, and tap Save.
Import Your IPA File
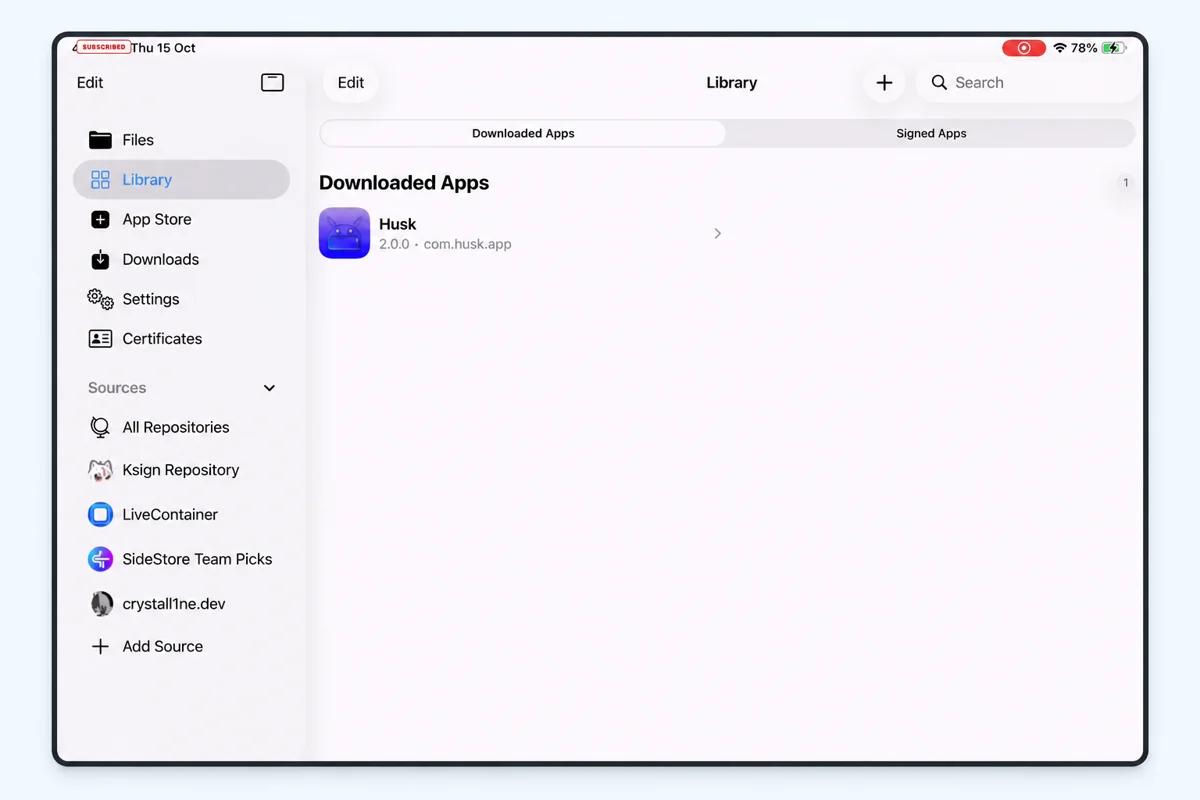
Open the Files tab in KSign and tap the + button. Select the IPA file saved on your device.
Once imported, tap the file and choose Import to Library. You'll now find it under the Library tab.
Sign the IPA File
Go to Library, select your imported app, and tap Sign and Install.
Choose your certificate under Signing, then tap Start Signing. KSign will prepare the app using your selected certificate.
Install the Signed App
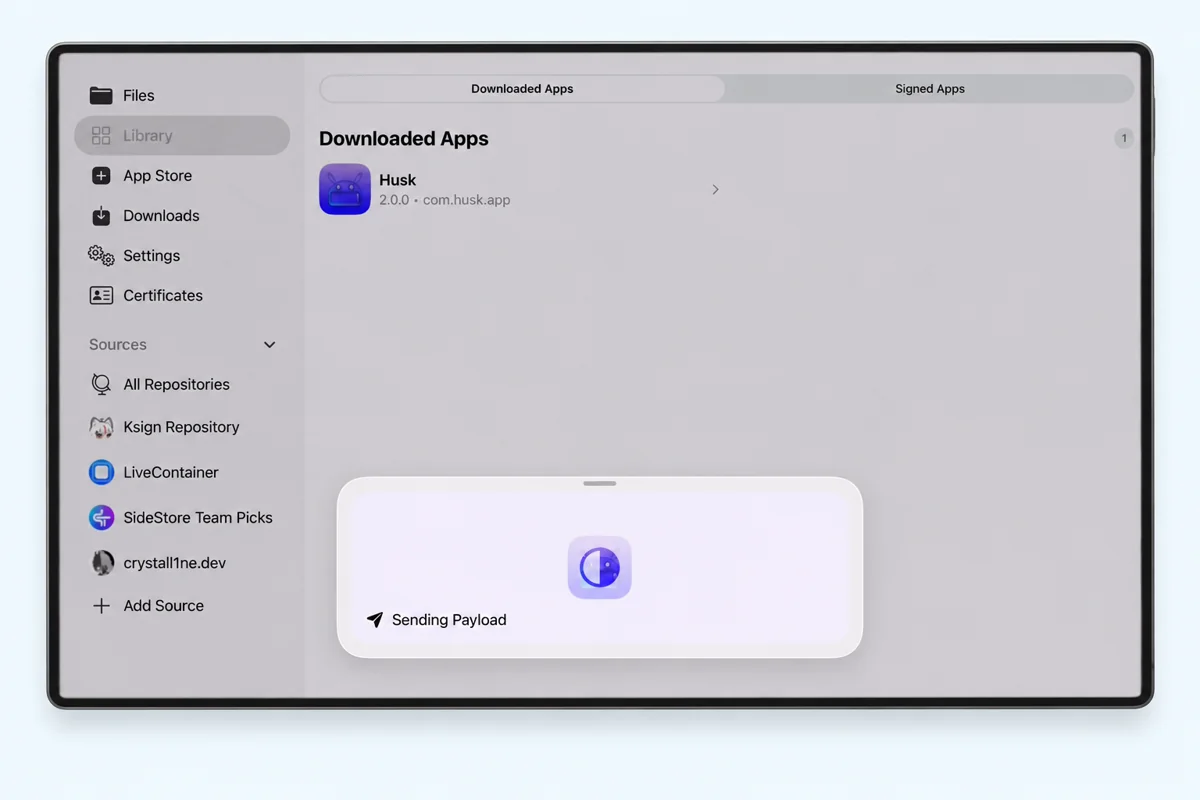
When signing finishes, tap Install if the iOS installation prompt appears.
Return to your Home Screen and allow the installation to finish. You can then open the app, provided its certificate is valid and trusted.
Main Features of KSign iOS
The app combines file handling, a signing library and certificate settings in one workspace. You can prepare individual apps on your device instead of moving every package through a desktop workflow. Your certificate and the app’s requirements still determine what can be installed.
On-Device IPA Signing
Import an app package, select a signing identity and prepare the app for installation. Review the app name and identifier before you start, especially when keeping more than one build of the same app.
Certificate Selection
Keep the certificate and provisioning profile together, then choose the correct identity when signing. The signing screen shows certificate details so you can review your selection before processing an app.

Flexible App Settings
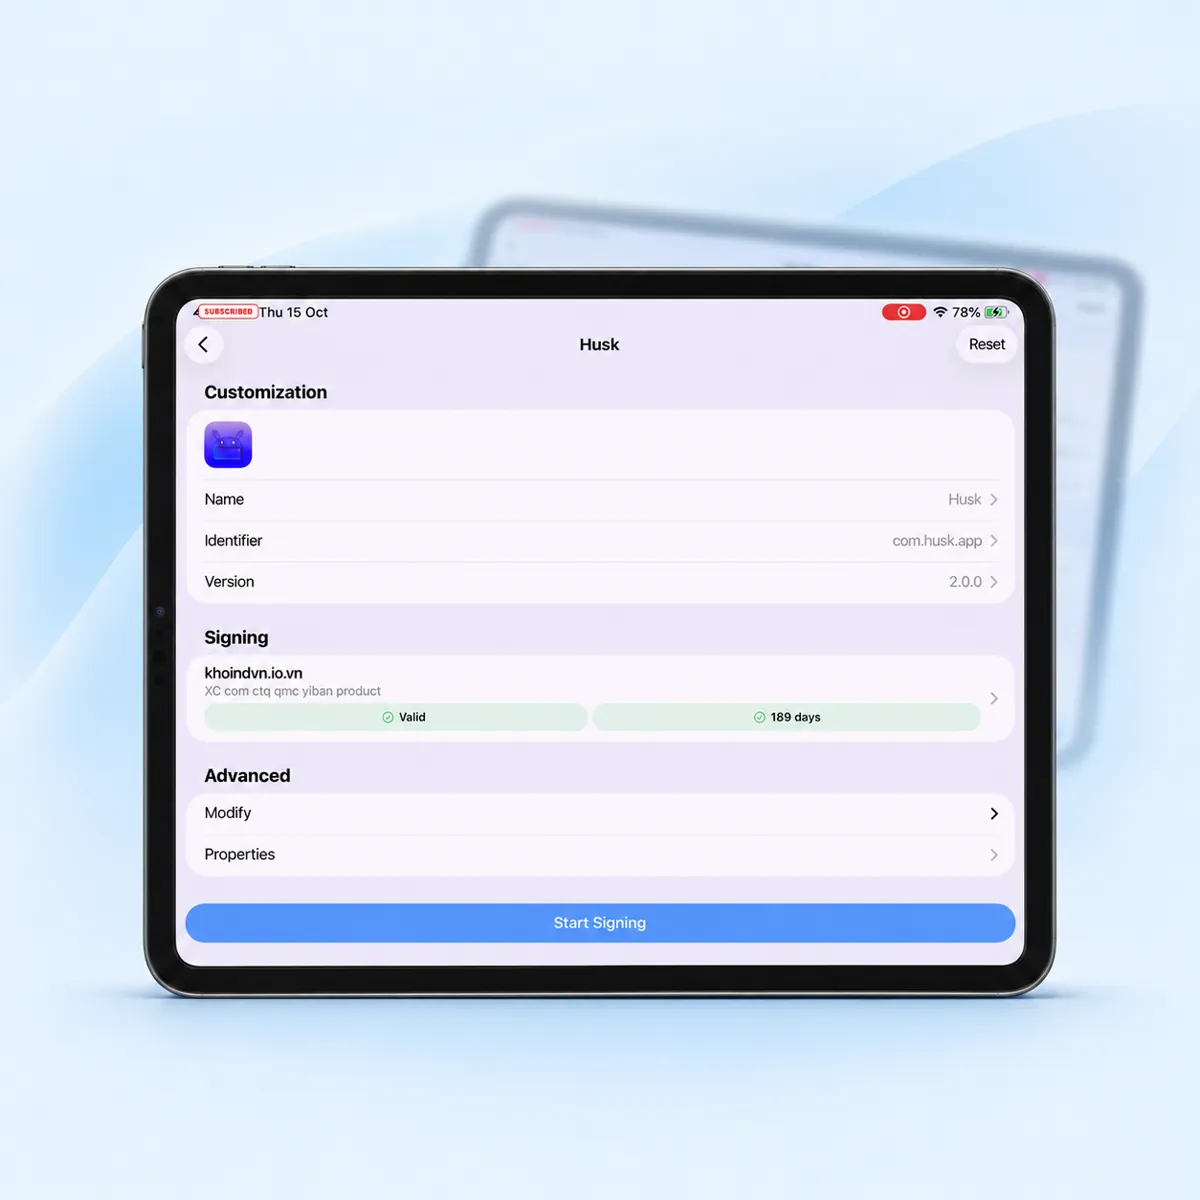
The signing screen includes the app name, identifier, version and advanced options. Leave these unchanged for your first installation unless your app or testing workflow needs a specific adjustment.

No Jailbreak Required

Your Signing Identity
FAQs
What is KSign iOS used for?
It signs supported IPA packages and prepares apps for installation on an iPhone or iPad. It brings a file browser, app library and certificate settings into one on-device workflow.
Which devices can run this release?
The v1.6 package requires iOS or iPadOS 16.0 or later. An individual app you want to install may require a newer version or additional capabilities.
Can I install an IPA just by tapping the download?
No. The download saves the package. You still need a compatible installation method to sign and install the signer before you can use it.
Does the app include a working certificate?
Do not assume that it does. Prepare a certificate, its password and a matching provisioning profile for your own setup. This site does not promise a working shared certificate.
Do I need a computer every time?
Once your on-device setup works, you can process supported packages there. The method used to install the signer itself may still require a computer or periodic refresh.
Why has an installed app stopped opening?
Check certificate expiry or revocation, the installation method’s refresh rules and the app’s compatibility. Repeatedly reinstalling the same package with the same invalid signing files will not solve a certificate problem.